

Pressure Testing Water Well Output
Pressure testing water well output is a crucial step in ensuring the reliability and efficiency of a water supply system. By subjecting the well to controlled pressure, technicians can assess its capacity to deliver water under different conditions. This evaluation helps in identifying any leaks, blockages, or other issues that may hinder the well’s performance. It also aids in determining the optimal pumping rate for consistent and sustainable water provision. Regular pressure testing is recommended to maintain the well’s functionality and prevent potential breakdowns that could disrupt water supply.
Title: How To Guide – Pressure Testing Water Well Output
In the world of water well systems, ensuring optimal performance is essential to guarantee a reliable water supply. Pressure testing the water well output is a crucial maintenance task that can help identify potential issues and ensure the system operates efficiently. Follow this comprehensive guide to conduct a successful pressure test on your water well output:
1. Safety First: Before starting the pressure testing procedure, prioritize safety by wearing appropriate personal protective equipment such as gloves and safety goggles. Make sure all electrical components are properly shut off to avoid any accidents during the testing process.
2. Gather Equipment: Collect the necessary equipment for pressure testing, including a pressure gauge, a pressure tank, a tire pressure gauge or an air compressor, Teflon tape, and a wrench. Ensure all equipment is in good working condition before proceeding.
3. Prepare the System: Turn off the power supply to the water pump and close all valves connected to the pressure tank. Release any pressure within the system by opening a faucet or hose bib until the water flow stops completely.
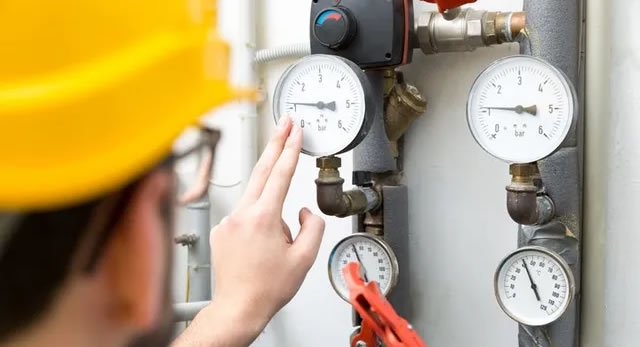
4. Connect the Pressure Gauge: Select a convenient location on the system where you can install the pressure gauge. Use Teflon tape to secure the connections and prevent any leaks. Make sure the pressure gauge is easily visible for monitoring purposes.
5. Pressurize the System: Use a tire pressure gauge or an air compressor to pressurize the system to the recommended pressure level. Refer to the manufacturer’s guidelines for the appropriate pressure setting based on your specific water well system.
6. Monitor Pressure Levels: Once the system is pressurized, monitor the pressure levels on the gauge for several minutes. Check for any fluctuations or drops in pressure, which could indicate potential leaks or issues within the system.
7. Inspect for Leaks: Carefully inspect all components of the water well system, including pipes, fittings, valves, and the pressure tank, for any signs of leaks. Address any leaks immediately to prevent water loss and system inefficiency.
8. Record Results: Take note of the pressure readings during the test and record any observations or abnormalities detected during the process. This information will be valuable for troubleshooting and future maintenance tasks.
9. Release Pressure and Reconnect System: Once the pressure testing is complete, carefully release the pressure from the system by opening a faucet or hose bib. Reconnect all valves and turn on the power supply to the water pump to resume normal operations.
10. Regular Maintenance: Incorporate pressure testing into your regular maintenance schedule to ensure the ongoing performance and efficiency of your water well system. Consider conducting pressure tests annually or as recommended by a professional.
By following these steps and conducting regular pressure tests on your water well output, you can proactively identify issues, prevent potential problems, and ensure a consistent and reliable water supply for your property. Remember, if you encounter any challenges or are unsure about the testing process, consult a qualified water well professional for assistance.
